Tag Archives: apple tart

Tarte Aux Pommes

As apples are coming into season, leaves are transitioning over to their Burt-orange and yellow shades, and (the U.S) Thanksgiving is right around the corner, I thought I would share my most recent kitchen adventures with the tarte aux pommes (French apple tart). I think it’s such a nice counter-partner to the traditional “apple pie”, but comes off a bit more rustic and showy.

Hopefully I won’t get any backlash for this statement, but in my opinion the tarte aux pommes taste practically identical to the U.S version of apple pie. The exception is that the tarte aux pommes has wafer thin apple slices neatly arranged in the open on top of the tart, a buttery crust, and a caramelized glaze to give the whole thing that irresistible eat me sheen.

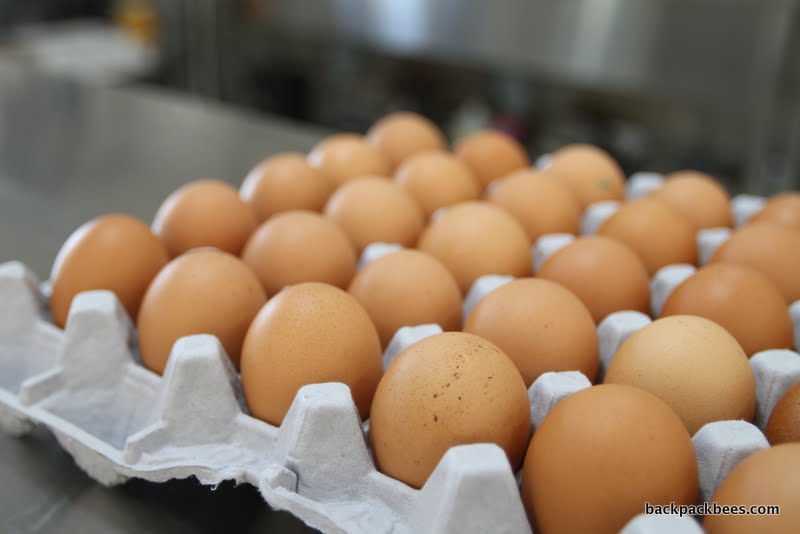
We prepped all of our materials and ingredients. I familiarized myself with the French tart ring, eek no bottom! Have you ever had the opportunity to use one?

I learned a new trick with how to make homemade vanilla sugar…. guess you will need to ask me to spill the beans.

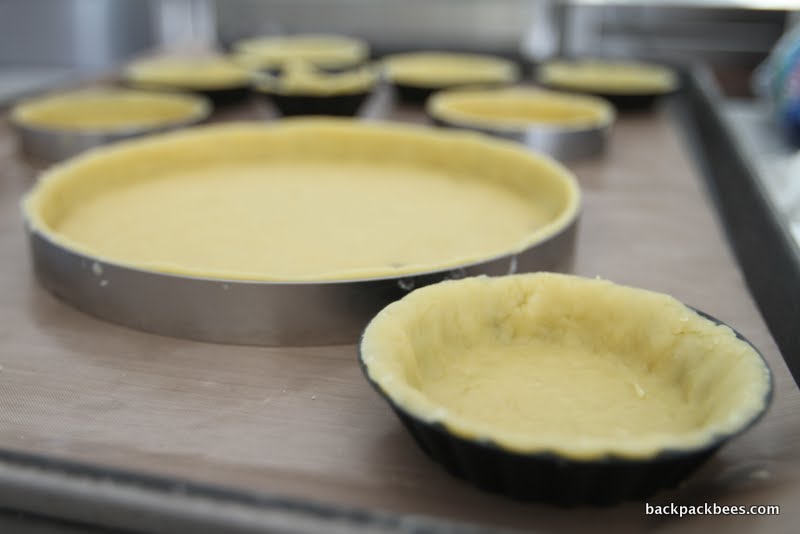
To start we made a sweet short crust pastry. Rolled everything out by hand. Carefully Arranged dough in our tart ring and mini tartlet pans. We then popped them all into the refrigerator until we were ready for them again.

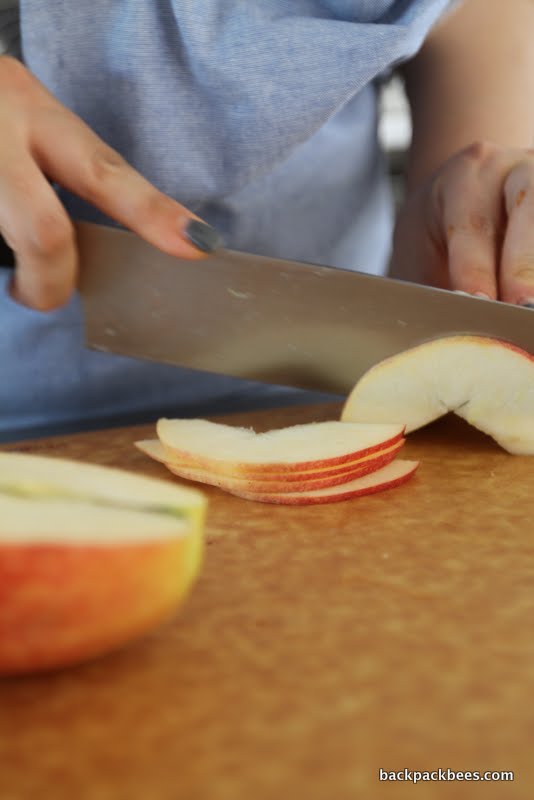
We then diced and thinly sliced the apples by hand.

We added our diced apples to pots on the stove with a mixture of butter, sugar, and cinnamon. The warm baking smells of the mixture slowly cooking happily danced up our noses. I wish I could just share that experience alone with you all.

Once the apples were soft on the stove top we then pulled out our chilled pastry dough and started to really get to work.

We filled the center of the tart with smaller diced warm apples and then continued on aligning and arranging the top ring of thinly sliced apples. It took me two attempts to get what I was looking for visually. Don’t fret if you end up doing the same.

Lastly brush the top of the apples with melted butter and generously sprinkle sugar over the tarte. We used the deck oven again and baked until golden brown. When it was finally finished, it looked incredible!

The last step was to lightly brush an apricot nappage–(an apricot jelly diluted with a bit of water and heated to near-boiling) over the tart tops. This nappage will help seal in the moisture and give it that stunning sheen that I mentioned above.

You can serve this French tart with a nice dollop of whip cream, or vanilla bean ice cream. Or, do as we did and invite your dearest friends over after a dinner out and serve casually with tea, coffee and good stories around the dining room table. Together we swooned with each bite of the buttery crust and heavenly scent of apples and cinnamon that encouraged us to just go ahead and indulge!

Backpackbees

Madeleines

So I realize I’ve done what I said I wouldn’t do with the blog, and that is let it sit. My poor grandparents looking week after week for something, anything! Sorry guys. So I’m trying to get some thoughts and updates posted and thought it would be the perfect opportunity to post about my first private lesson baking Madeleine’s.

I have a teeny confession to make… We visited France and never once ate a Madeleine. I know! I do believe we’ve committed some sort of cardinal sin! I think we need to start looking for a ticket back and get this mistake sorted out right away.

…Okay, okay… Maybe it wasn’t necessarily a sin, but a girl can try her luck to get back to France again, right? Wink-wink Mr. B.

Luckily in the meantime while Mr. B looks for tickets we can enjoy these perfectly sized, lemony delightful sponge cakes.

I was rather surprised by just how simply the recipe comes together. There isn’t a ton of fuss to get the perfect puffed shell shape. My instructor teased me and first said we’d use the KitchenAid mixer when we’d blanchir the eggs and sugar (French culinary meaning: to whiten), but we did it all by hand and in the end it was worth it.

We started out by prepping/ measuring out ingredients, gathering tools, etc. We then moved onto melting the butter, mixing the sugar and eggs, adding in the flour and baking soda, extracts, zest of lemon, and of course melted butter.

After everything was mixed we double wrapped the mixture and put it promptly into the refrigerator to chill. The secret I learned was that you need to shock it from a room temperature to the cold and then into the oven to get the gorgeous raised shell shape we were after.

We used two different types of ovens, a convection and deck. We wanted to get a side by side comparison throughout the baking process. The results were equally scrumptious so I cannot judge purely on that, but what was noticeable was that the deck oven yielded a bit softer result, while the convection a more firm and crispy edge result. Again still no complaints from my tummy or Mr. B’s. I would say in the end, I do prefer the deck oven as it bakes bread and pastry marvelously!

^Deck Oven

^Convection Oven

^Convection Oven

^Deck

^Convection Oven

^Deck Oven

Madeleines are the perfect afternoon delight to accompany a cup of tea and a good book, don’t you agree? Not only are they semi quick, they also can be customized to whatever you are feeling in the moment, or have on hand. I came across flavor like pumpkin, rose, various types of tea flavored, pistachio, blueberry, just endless possibilities! Have you ever tasted or baked Madeleines? If so, what flavors, and what is your favorite?

Next to look forward to is the apple tart. Just in time for fall with a fancy twist! Stay tuned….

Backpackbees